Businesses like to work on cloud platforms due to their greater flexibility and rich features. As there is no size limitation like the on-premises applications, so users do not put their focus on keeping the mailboxes to a manageable size. When the mailboxes increase in size, then the speed to load the mailbox lowers and searching for the individual items also becomes tricky.
Taking a serial backup of all the account’s information like email, contacts, calendar, etc. to another place lower the size of the mailbox and it becomes responsive and easier to find and manage the data. When you create the backup in the PST file, then you can transfer it to another place like Dropbox or OneDrive, an external hard drive, USB flash drive.
There are several reasons to take the backup of the Microsoft Office 365 to another format like the following;
- Moving the emails between different accounts – If you have an older account that has some emails that you need to move to another account, then you can choose to either create both accounts in Outlook and move emails manually or take the backup and move the emails.
- Moving emails between computers – When you are changing the physical workstation, then the manual backup makes it easier to move the emails between the computers. You can use the USB drive or external hard drive to migrate the previously taken backups.
- Lowering the size of the mailbox – The default size of the mailbox depends on the user type and the subscription level. It is not good to fill the entire mailbox, but the user should keep the data at the optimal level and should not exhaust total space.
When you have connected Office 365 to the Outlook application, then it is easier to export the mailbox content to an Offline PST file.
Export Calendar items from Outlook in Windows
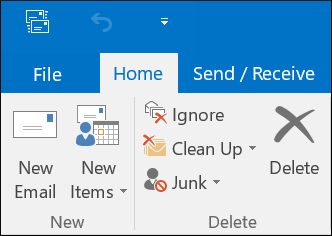
- Open Outlook application and choose the respective Office 365 account in case you have added multiple accounts. Then click the File option.
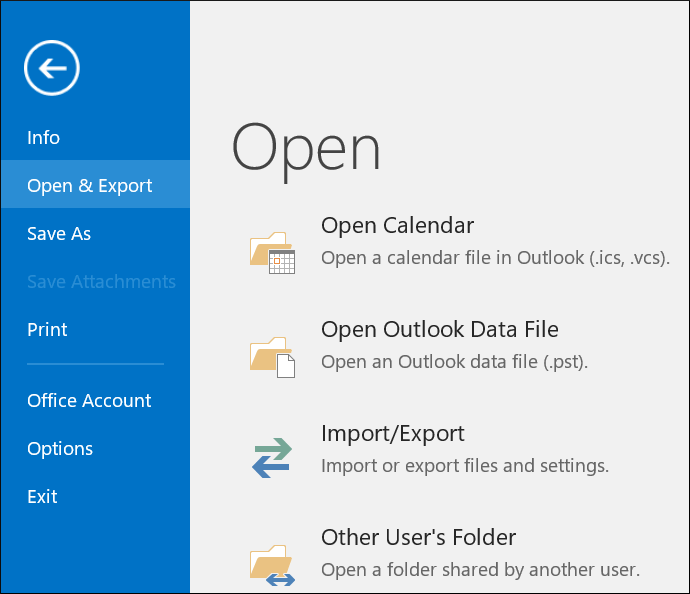
- Click Open & Export and go to wizard Import/Export.
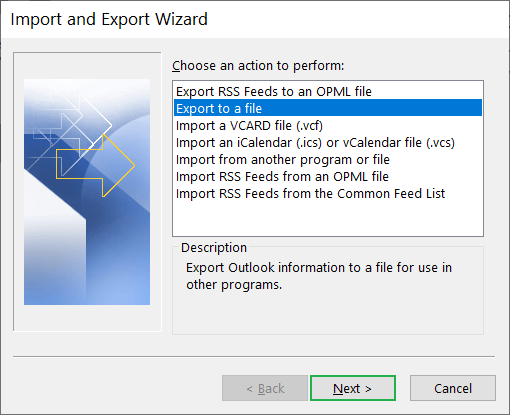
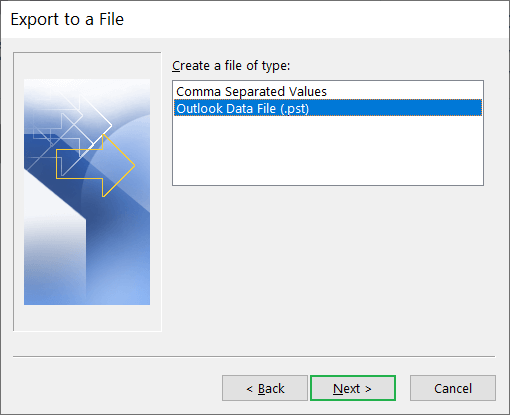
- Choose Export to a file and click Next.
- Select Outlook Data File (.pst) and click Next.
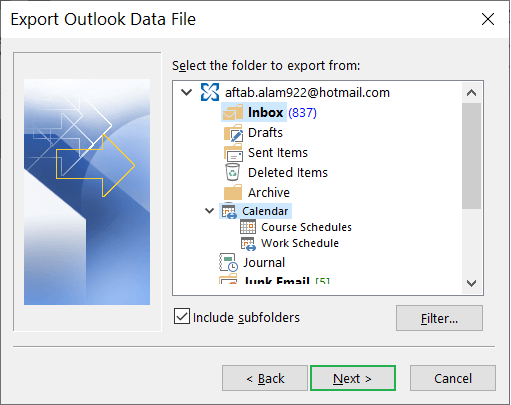
- Choose the Calendar folder and expand it to select the created Calendar item. Click Next.
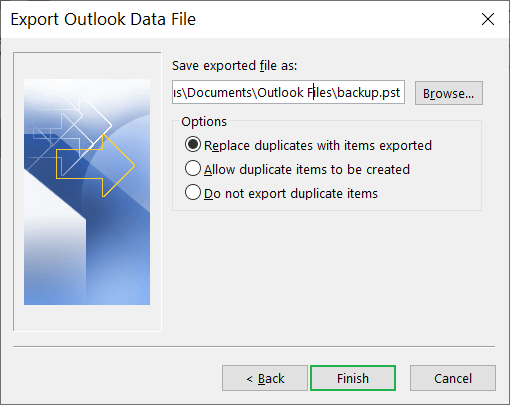
- Click the Browse button to change the default location to save the information in the PST file. Also, choose the options to handle the duplicate items. Finally, click Finish.
Export Calendar items from Outlook in Mac
- After opening the Outlook application, go to the Calendar option.
- Click File>>Export.
- In the item types that you want to export using the checkbox to select Calendar. Click Items in the category and select the colored category from the list. Then click Continue.
- Provide the name of the new file and where to save the file. Click Save.
- Click the Finish button to save the file in the OLM format.
Sometimes, you do not need to save the Calendar information in the offline files like the PST or OLM. But you can share the Office 365 online content with the other users in your organization.
- Login to Office 365 account with the help of the URL – https://login.microsoftonline.com/
- Go to all applications and click Calendar.
- The Calendar app will open in the new tab and in the left-hand window you can choose the Calendar that you want to share. Click the Share option in the right-hand side corner.
- Click Sharing and submissions.
- In the Sharing and submissions options, you need to choose the level of sharing with the users. There are multiple options like –
- Can view when I’m busy
- Can view titles and locations
- Can view all details
- Can edit
- Not shared
- Input the account with whom you want to share your account. Then click the Share button.
- After making all the changes, the sharing level, and the accounts, click the Share button.
- After sharing the calendar with the users, you need to send the notifications to the users with whom you have shared the calendar.
Conclusion
The calendar is an important feature of the Office 365 suite and businesses constantly manage their events, meetings, seminars, interviews on the calendar. Using Office 365 backup tool, you can take the backup of the calendar and share it with other users. But if a corruption attacks any Outlook account, then the calendar events can also get corrupt easily. You should have PST repair software to handle all kinds of corruption and deletion and make sure the health of your business data.