In today’s fast-paced world, hustle culture is at its peak and every professional is swamped with work. It involves regular calls, meetings and events with colleagues and clients.
If you decide to manually manage them, that will get overwhelming eventually and your deadlines will go for a toss. That’s where an Outlook Calendar comes into the picture and plays a key role in keeping track of all your day-to-day activities and helps to manage and schedule them efficiently.
From creating your own appointments to managing another user’s calendar, the Outlook Calendar offers a plethora of exemplary features. However, certain business situations could demand you to export Outlook Calendar to Word and you can turn it into an effortless task, only if you follow the right approaches. And in this article, we will dig deeper into all 4 methods to easily export Outlook Calendar to Word.
What are the Reasons to Export Outlook Calendar to Word?
There are various reasons why a user needs to export their Outlook Calendar to Word and some of the common ones are as follows
- Sharing schedules with users who don’t use Outlook
- Adding Word customizations to the calendar
- Combining other information along with the schedule
- To access the appointments offline
- Wider range of accessibility and compatibility
- Integrating it with other documents
- Creating a backup of the data
4 Methods to Export Outlook Calendar to Word
The process to export Outlook Calendar to Word can be easily achieved using the mentioned manual methods. All of them involve simple steps and are ideal to export one Calendar at a time. However, while migrating multiple calendars, these methods could become lengthy and unproductive. But they are the easiest ones available, and you can find the detailed steps below.
A. Add Calendar’s screenshot to Word:
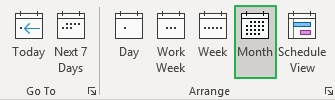
- Launch MS Outlook. Switch to the Calendar view by clicking the Calendar tab in the bottom pane
- Set the current view as the Monthly calendar view
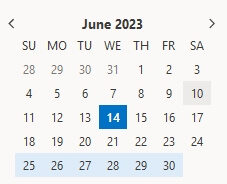
- Scroll up/down to the month’s calendar which you need to export
- Subsequently, open Word and create a new document
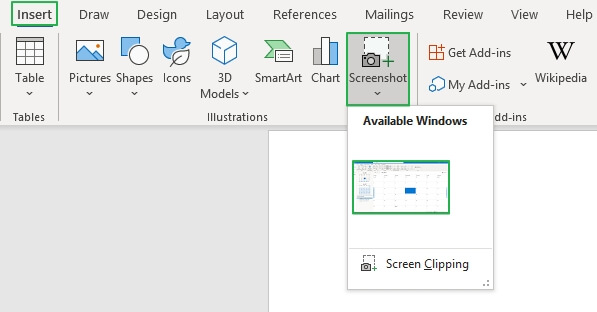
- Select the Inset tab and click on the Screenshot option. From all the Available Windows, select the Calendar screen to take its screenshot
Note: Avoid minimizing Outlook when you take the screenshot
- Repeat the same process to take screenshots of other month’s calendars
B. Copy the E-mail Calendar to Word:
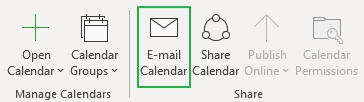
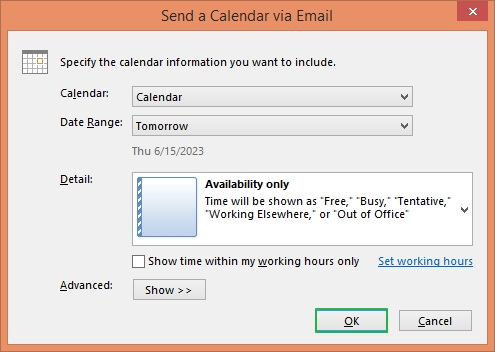
- In the Calendar section, select the E-mail Calendar option from the menu bar
- The ‘Send a Calendar via Email’ window will open. Specify the Calendar and Date Range details and click on OK
- All the specified details will be automatically added to the message body of a new email
- Select all this content and copy it (Ctrl-A > Ctrl-C)
- Open a new Word file and paste the copied content here (Ctrl-V)
- Repeatedly copy the other calendars similarly to add them to the document
C. Export Calendar using OneNote:
- Open the Calendar in MS Outlook
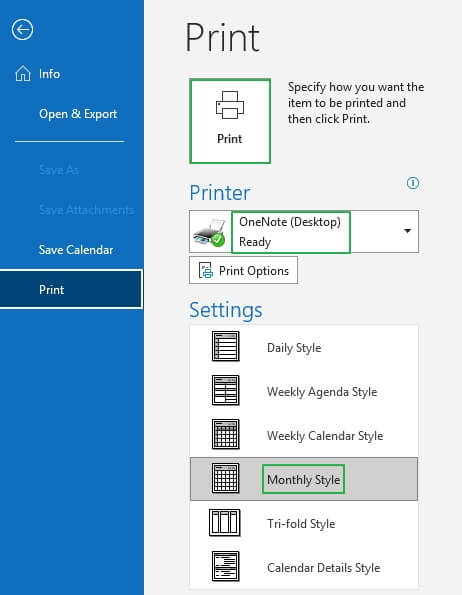
- Click on the File menu and select the Print option
- Under the Printer option, select ‘Send to OneNote’. And in the Setting choose the Monthly Style. Finally, click on the Print option
- The calendar will open immediately in OneNote and click File in the top left corner
- From the left panel, go to Export and under the Select Format options, select Word document and click on Export
- In the new dialog box, select a destination folder. Enter the File name and Save it
- A new Word document will open containing all the Calendar details
D. Export Calendar as a .csv file:
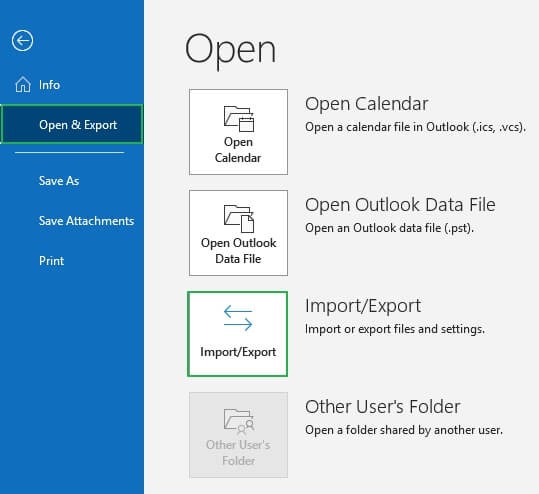
- Launch Outlook and click on the File tab
- Move to the Open & Export option and select Import/Export
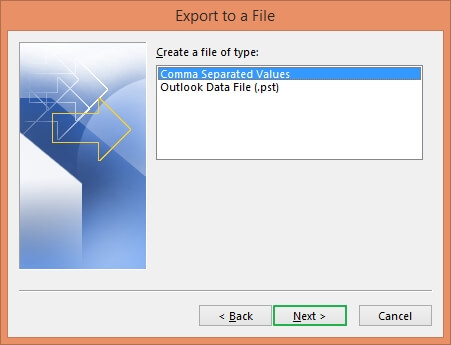
- In the Import and Export Wizard, select ‘Export to a file’ and click on Next
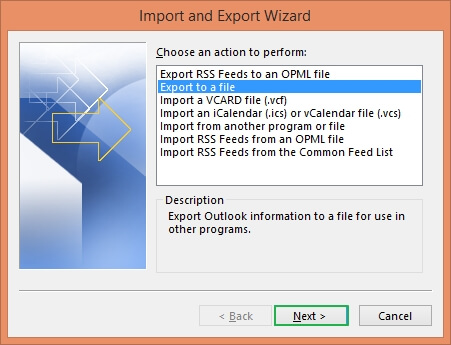
- Choose the ‘Comma Separated Values’ and again hit the Next button
- From all the folder options, set the Calendar and select Next to proceed

- Click on Browse to select the saving location of this .csv file
- The Set Date Range window will allow you to export only the activities of the date range you select. Select OK to finally save the .csv file
- Locate and open the file
- Select all the content using Ctrl-A and then, copy it with Ctrl-C
- Open a new Word document and paste all the copied content here (Ctrl-V)
Conclusion
In this article, we discussed the 4 prominent methods to export Outlook Calendar to Word. The first one involves simply adding the screenshot of the selected calendar to the Word document or copying it. Additionally, you can also export the Calendar using OneNote and as a CSV file. All these are manual methods which are simple to execute. Exporting your Outlook Calendar to a Word document can provide a convenient way to share, customize and archive the data on the Calendar.