The meaning of Exchange Server recovery means restoring the configuration settings of mailboxes to Active Directory and accessing the mailboxes again. Active Directory
houses almost all of the configuration options for mailbox servers and client access services.
Exchange 2016 and Exchange 2019 both have a Setup parameter for restoring lost servers, just like earlier iterations of Exchange. A special parameter ‘/Mode:RecoverServer’ is capable enough to recreate the lost Exchange Server by replaying settings, information, and configuration information stored in the Active Directory. However, multiple settings are not storable with RecoverServer parameters like the local web.config and some other configuration settings. Custom registry settings are also not restored completely.
NOTE – The below-mentioned method restores an Exchange Server that is not a member of the database availability group.
- Install the appropriate operating system on the replacement server, and give it the same name as the one that was lost. If the destination Windows server’s name is different from the lost Exchange server’s, recovery won’t be successful.
- Sync the server with the lost server’s domain.
- Install the target server’s required operating system and prerequisites.
- Open File Explorer on the destination server, then right-click the downloaded Exchange ISO image file and choose Mount. Take note of the designated virtual DVD drive letter.
- Open Windows Command Prompt from the application’s menu and input the following command in the same syntax
:\Setup.exe /IAcceptExchangeServerLicenseTerms_DiagnosticDataON /Mode:RecoverServer [/TargetDir: ] [/DomainController: ] [/DoNotStartTransport] [/EnableErrorReporting] - Reconfigure any custom settings that were previously present on the server after Setup is finished, but before you send the recovered server into production. Then restart the server.
The main sign that the recovery was successful will be the completion of the Setup successfully.
Open the Windows Services utility (services.msc) and check that the Microsoft Exchange services have been installed and are active to further confirm that you have successfully recovered a lost server.
Reset the computer account
You must be a member of Domain Admin, Enterprise Admin, or Account Operators in order to perform this.
- To reset the computer account, use the following procedure:
- Select Administrative Tools >> Active Directory Users and Computers from the Start menu.
- Select Computers.
- Reset your Account by clicking Details.
- Give the replacement server the same name as the lost server after installing the OS on it.
- Include the server in the missing server’s domain.
- Install all necessary Exchange Server 2016 requirements.
- Start the command prompt on the new server and type the next cmdlet-
Setup /m:RecoverServer /IAcceptExchangeServerLicenseTerms
- Finally, restart the server after configuring it as needed.
- Check the Windows Services utility to see if the Microsoft Exchange Server services are active to confirm the delivery.
NOTE: It’s important to give the new server the same name as the existing one. Otherwise, it won’t operate properly.
Recover a lost Exchange Server which is a member of the database availability group.
To recover a lost Exchange Server that is not a part of a Database Availability Group, utilize the procedure described above (DAG). A different approach to recovering a DAG member Server with the help of a series of cmdlets running in a proper sequence.
- Retrieve the replay lag with the help of a mailbox database copy by the following command-
Get-MailboxDatabase Database-Name | Format-List *lag*
- Remove the mailbox database copy by the following cmdlet-
Remove-MailboxDatabaseCopy Database-Name \EXC
- Delete the configuration of a failed server from the database availability group.
Remove-DatabaseAvailabilityGroupServer -Identity DAG-Name -MailboxServer Server-Name
- In the Active Directory, reset the computer by running more cmdlets. Run the following setup-
Setup /m:RecoverServer
- Include the recovered Exchange Server in the database availability group. Run the command-
Add-DatabaseAvailabilityGroupServer -Identity DAG-Name -MailboxServer Server-Name
- In the last, check the status of the recovered server in the database availability group.
Get-MailboxDatabaseCopyStatus -Server Exchange-Database-Name
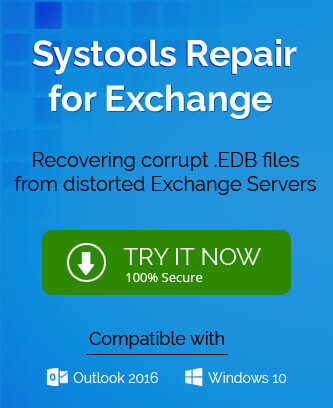
Professional method to recover corrupt EDB files
A corrupt Exchange Server means a lost EDB file. Even if you recover the Exchange, then there are remote chances that the database will lose its mailbox content. The complete information including the emails, contacts, notes, and calendar, present in the mailbox are recoverable with the help of professional Best Exchange Recovery software. The software will scan the EDB file and help you to recover the complete mailboxes. Many software will permit you to save the data into a live Exchange Server.