VHD and VHDX file formats are supported in both versions of Windows 8.1 and 10. So VHD/VHDX files can be easily mounted in windows 8.1 and 10 in .vhd and .vhdx format whenever need be. You can easily find out the virtual disks on your computer system that looks similar to the physical hard disks. And you will be able to save any type of data on these VHD/VHDX virtual disks. The disadvantage while using VHD/VHDX is that it needs to be mounted every time while rebooting your computer system. Adding to this disadvantage, the control of mounting the virtual disk is in hands of the local administrator.
In this blog, we are going to look at the methods to auto-mount a VHD/VHDX file at the starting or rebooting of the Windows.
How to auto-mount VHD/VHDX file in Windows 10 & 8.1?
Although there is no direct method to mount VHD/VHDX image in windows automatically while rebooting your system. But this is the best method to achieve the task by using diskpart and Windows Task Scheduler.
- Open VHD/VHDX on your system and write the following code in a new text file (C:scripts/attach_vhdx.txt):
Selectvdisk file=”C:\vhd2\w10vhd.vhdx”
Attach vdisk
Select part 1
Assign letter=K
Exit
C:\vhd2\w10vhd.vhdx is the path of the VHD/VHDX file.K is the letter assigned as the name of the VHD drive.
This script mounts the specified vhdx file, selects partition on it, and assigns a drive letter. You can always change the code if there are more partitions. This can be done by specifying the number of partitions to be mounted.
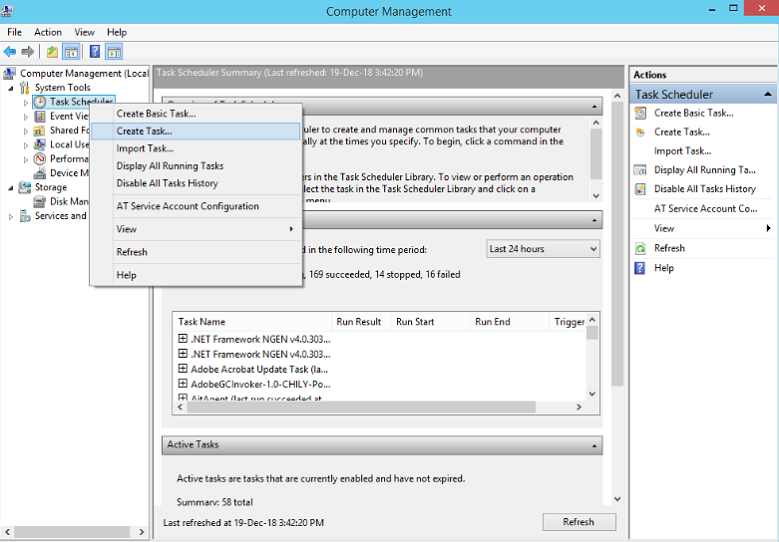
- Now, on your computer press Windows+X to select Computer Management.

- Right-click on Task Scheduler under the System Tools. Then select Create Task or from the right-pane navigate and directly select Create Task.
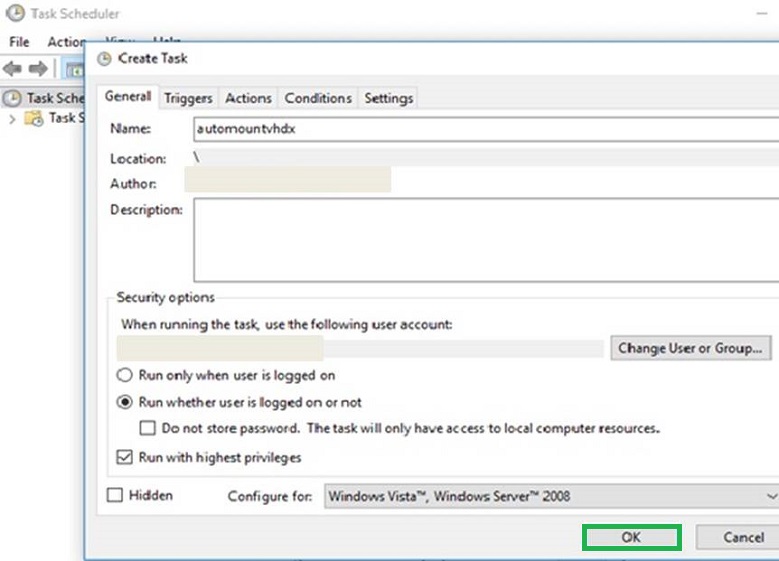
- In the Create Task window do the following for different tabs:
For General tab- Write the Name of the task.
- For a better understanding of the task in detail, write a Description.
- Now check against the Run whether the user is logged on and also Run with the highest privileges.
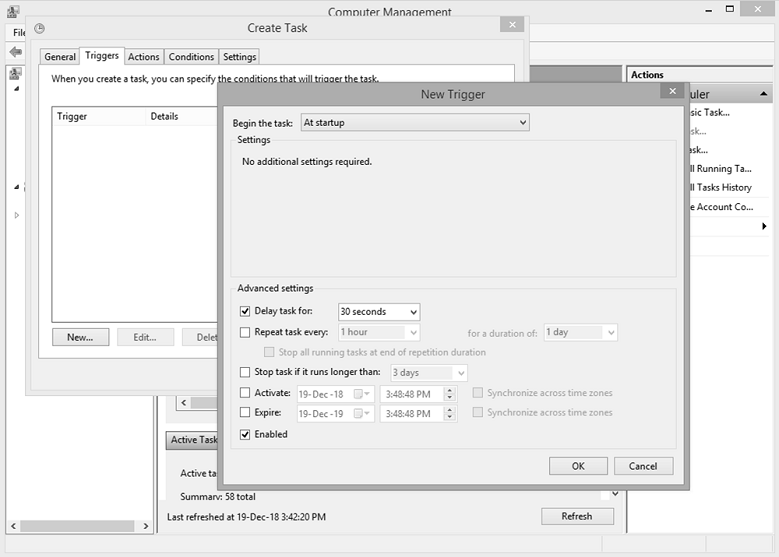
For Triggers tab
- To set up a new trigger, Select New.
- From the Begin, the task options, select At startup.
- Choose Delay task for (time) under the Advanced Settings button.
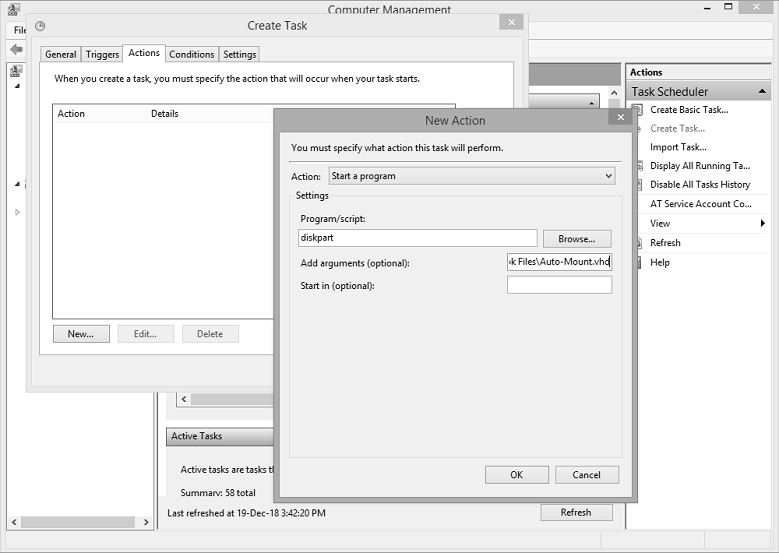
For Actions tab
- By clicking on the New button you can create a new action.
- Select Start a program from the drop-down menu as Action. Then select Programs/Scripts and write /s followed by space and complete path of your script file in the Add arguments (optional).
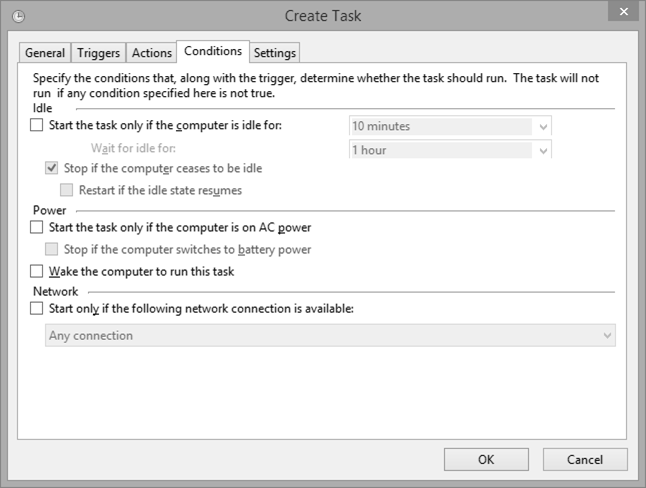
For Conditions tab
- Uncheck the box against Stop if the computer switches to battery power.
- Uncheck Start the task only if the computer is on AC power.
- To recreate the task click OK.
- Exit the Computer management and restart your computer. Now check whether the auto-mount method has worked for VHD/VHDX files or not.
Wrapping it up
VHD/VHDX image files are worked upon after mounting them to the computer system. The disadvantage of this virtual environment is that they have to be mounted every time the system is rebooted. There are no direct methods to make it automatic but the solution provided above is tried and tested. After this method, your VHD/VHDX files will be auto-mounted after the windows reboot. For any kind of corruption and damaged in both VHD and VHDX files, user can use professional VHD recovery tool