With the latest Windows version release (Windows 10), there is release of the Microsoft Office 2019 in the market also which includes many new features along with it in the Microsoft Outlook application. It is the latest trend and requirement of the users to be updated for every new feature which applies on the update of Microsoft Office applications also. To work without losing any aspect of the newly introduced features, it would be quite smart on the end of users to move or upgrade to the latest introduced update for their current applications.
Keeping this requirement in mind, this blog focuses on the method or procedure to install Outlook 2019 on Windows 10.
We want you know that you need to purchase the Microsoft Office 2019 one time only unlike any pre-defined Microsoft 365 subscription plan. There are three available plans under Microsoft Office 2019 – Office 365 Home, Office 365 Personal and Office Home & Student. Out of these three, you can purchase any depending on your current requirement. Later on, you can also change or upgrade Office 365 subscription plan quite easily.
New Features of Microsoft Outlook 2019 Version
Before installing Outlook 2019 on your systems, it is wise to know what new is included in this latest version. Some crucial features included in the new Microsoft Outlook 2019 application are:
- Facility of adding Visual Impact using Scalable Vector Graphics feature
- Improved Ease of Access with audio cues under sound effects
- Ability to read emails aloud
- Enhanced Accessibility Checker (one-click fixes) with support to International Standards now
- Little improvement in User Interface and Design
- Provision of downloading attachments from cloud
- Inbox division into Focused and Other tabs with important emails on the former and rest accessible by all on the latter one
- Facility to schedule meetings along three time zones
- Marking emails as read when ready to delete them
- Enhanced access speed and toggling between features
All the above features are likeable, useful, and tend Outlook users to upgrade their versions. Though you can get well information on the Microsoft Site and if you are looking for steps and procedure to install this application on your latest Windows 10 system, we are here to help you outright with the whole stepwise procedure below.
Tips to install Outlook 2019 on Windows 10
We are providing you here the free tips to install Outlook 2019 on Windows 10 Operating System version. The primary requirement is to install Microsoft Office 2019 and before that you need to purchase its desired license from the Microsoft store. It would create a Microsoft Office account with credentials which you can use further to install in on your Windows 10 system. This account can be Home account or Business account as per your choice.
Minimum Hardware Requirements for Installing Microsoft Office 2019 on Windows 10
- Processor – 1.6 gigahertz (GHz) or faster, 2-core.
- Memory – 4GB RAM; 2GB RAM (32-bit)
- Hard disk – 4GB (available disk space)
- Display – 1280 x 768 screen resolution
- Operating system – Windows 10, Windows Server 2019
- Browser – Microsoft Edge, Internet Explorer, Chrome, or Firefox (latest versions)
- .NET version -.NET 3.5 or 4.6 and higher
Let us understand it better with the below provided steps.
- Go to www.office.com website.
- On the opened site, you would get two tabs – Get Office and Sign In. Choose Get Office if you have not already purchased the Office version and click on the link saying Looking for Office Home & Business 2019. Visiting this link, purchase your desired license for Microsoft 2019.
- After purchasing the Microsoft Office 2019 or if already purchased, go to www.office.com again and click on Sign In tab.
- Then, provide your purchased Microsoft Office 2019 credentials and sign in to it.
- The Office home page will get opened. Move to the top right of the page and click on the Install Office link.

- It would start the downloading of the Microsoft Office on your system. Wait until the download is completed.
- Once you check that the download of the Microsoft Office is completed, click on the new prompt saying Install Office to confirm it.
- Next click on Setup option to install the program on your system while using the Chrome browser.
Note: For Firefox browser, you have to click on Save File option and for Internet Explorer/Edge; you need to click on Run option. - A new prompt under User Account Control dialogue box will appear – Do you want to allow this app to make changes to your device? Click on Yes option to continue.
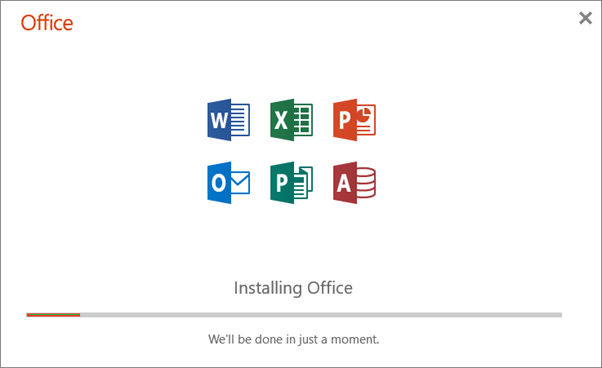
- The installation process of Microsoft Office 2019 will get start. Wait until the installation gets completed.
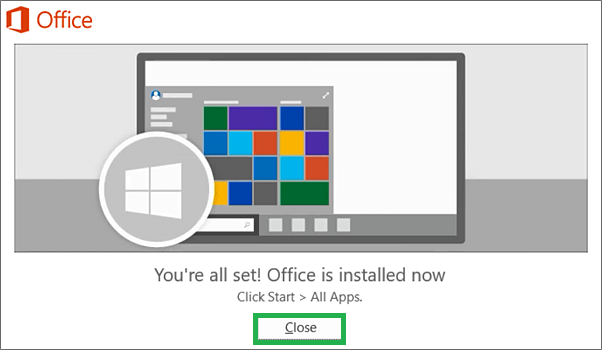
- The final message when the installation gets completed would be You’re all set! Office is installed now. It also contains location to get all programs under the installed Microsoft Office, i.e. Click Start>All Apps. Click Close to close this message.
- Next go to Start>All Apps>Microsoft Outlook 2019 or search Microsoft Outlook 2019 at the search bar.
- Click on the Microsoft Outlook 2019 option to open it.
- It would ask for the confirmation for the very first time only. Click on Accept or agree to the License terms to confirm it (No need to enter the license key or credentials as the already downloaded installation package/setup from Office 2019 is enough for the license details confirmation).
- Next, you can check the installed Outlook 2019 on your Windows 10 system.
- Make an Outlook profile and start using this Microsoft Outlook application.
Note: If previously, the user has installed the 32-bit version of Office, then the same version of the Office program will be installed by default. However, if you want to install the 64-bit version of the Office program, first uninstall the 32-bit version setup>sign in to your Microsoft account>select the language>choose the 64-bit version of Office 2019>finally, click Install.
So, install Outlook 2019 on Windows 10 is explained thoroughly. The process seems quite easy once you have confirmed the purchase requirements of your Microsoft account. Use this procedure anytime and suggest it to your friends/colleagues as well who are looking for the installation of Outlook 2019 in their Windows 10 systems
More to Learn
Along with the complete procedure to install Outlook 2019 on your system, we would like to help you deal with the PST corruptions and Outlook errors currently or in future. Though we have in-built Inbox Repair tool for repairing Outlook PST files but it holds capacity enough for repairing minor corruptions and small files (up to 2GB) only. To combat this, we suggest you to try our most popular and useful professional Outlook PST Repair software product. The tool deals with highly corrupted, large-sized, protected, broken PST files in very less time and delivers repaired complete data which you can choose to save as per your need. It supports PST files from all Outlook versions including Microsoft Outlook 2019 and works on all Windows Operating System versions including Windows 10. So, feel free to work on Outlook applications as your PST files and its data is always secured with this advanced tool.