The Exchange Server from Microsoft have empowered the organizations to conduct their professional communication safely and in full control. When an organization purchases the Exchange Server, then it is willing to use it for a longer period. But Microsoft upgrades its software to a newer versions and discontinue the older version.
Exchange Server Migration Guides
Migrate Microsoft Exchange Server 2010 to Exchange 2016
Migrate From MS Exchange 2013 to Exchange Server 2016
Migrate MS Exchange Server 2016 to Exchange 2019
Migrate Live Exchange to Office 365/Exchange Online
If you are also using the Exchange Server, then Exchange Server 2010 is the oldest one that is still working. But it is going to be discontinued on October 13, 2020 and you will not get the technical support, bug fixing, security fixing, time zone updates, etc. you should migrate to a newer version of Exchange Server and in the present guide we will tell you migrate directly to Exchange Server 2016.
Exchange Server 2016 has many advancements like better cloud services, easier server roles for Mailbox and Edge Transport, database resilience, online document collaboration, etc. When you want to upgrade the Exchange Server 2010 to 2016, then it is not a direct procedure. First, you check the hardware specifications to accommodate all the new changes, install new Exchange, migrate the mailboxes, and decommission the older Exchange. All these actions are required in a sequential manner and you need to gather all the information regarding the changes.
Pre-requisite to Migrate Exchange Server 2010 to 2016
- Hardware requirements for Exchange Server 2016
Hardware Components Requirements Disk Space - Free space of 30 GB to install Exchange.
- Free space of 500 MB for each Unified Messaging language pack.
- Free space of 200 MB for System Drive.
- Free space of 500 MB to contain message queue database.
File Format NTFS file format for all the exchange partitions, binaries, exchange diagnostic logging, transport database files. Memory - Mailbox: 8 GB
- Edge Transport: 8 GB
Processor - Intel Processor supporting the Intel 64 architecture.
- AMD Processor supporting the AMD64 platform.
Paging File Size - When lesser than 32 GB of RAM installed: Physical RAM plus 10 MB.
- When 32 GB or more installed: 32 GB.
Drive DVD-ROM drive, local or network accessible. Screen Resolution 1024 x 768 - Software Requirements for Exchange Server 2016
Software Components Requirements Operating System - Windows Server 2012 and Windows Server 2012 R2.
- Windows Server 2016.
.Net Framework - 4.8
- 4.7.2
- 4.7.1
- 4.6.2
Supported Clients - MS Outlook 2013.
- MS Outlook 2016.
- MS Outlook 2019.
- MS Outlook 2010 SP2.
- MS Outlook 2016 for Mac.
- MS Outlook for Mac for Office 365.
- Microsoft 365 Apps for Enterprise.
- Upgrade Active Directory Schema – When you are currently using the Exchange Server 2010 and wanting to upgrade to Exchange Server 2106, then you also need to upgrade the Active Directory Schema. The extended Active Directory helps you to update the extended objects and attributes for Exchange 2016. You need to plan the Active Directory upgrade carefully, because you cannot rollback it once it is completed. You will have to manually remove the new entries from the schema and it is not a recommended method due to data security.
NOTE: Only such account that have Active Directory Schema Admin, Domain Admin, Exchange Organization Admin, and Enterprise Admin rights can install the Exchange Server 2016.
- Namespace for Exchange Server 2016 – The namespace configuration of various services that you are using in Exchange 2010 and wants to use in Exchange 2016 also, then you need to update these entries also. Some important services are AutoDiscover, Legacy URL for Exchange 2010, Active Sync, Exchange Control Panel, Primary SMTP domains, Outlook Web App, Outlook Anywhere, Exchange Web Services, Offline Address Book, etc.
If you want of keep both Exchange Servers in co-existence, then you can keep the external and internal namespace same.
- SSL Certificate – When you have chosen the services to update in namespace, then you can include these service namespaces in the SSL certificate also. The SSL Certificates are important for a secure communication especially for the external communication with other users. The experts advise the users to keep the public SSL certificates for the Exchange communication. There are multiple authorized vendors that allows you to purchase special SSL certificate for the Exchange Server 2016.
How to Install Exchange Server 2016?
When you have upgraded the Active Directory Schema suitable for the Exchange Server 2016, then you can continue to install the Exchange Server 2016 –
- Log on to the mailbox server and ensure all the hardware and software requirements are met completely.
- Go to the Exchange Server 2016 installation media. Go to the setup and double-click Setup.exe option.
- The first page in the installation is Check for updates where you can choose to install the Exchange settings while connected to the Internet and check for updates or don’t check for updates right now. Choose your option and click Next.

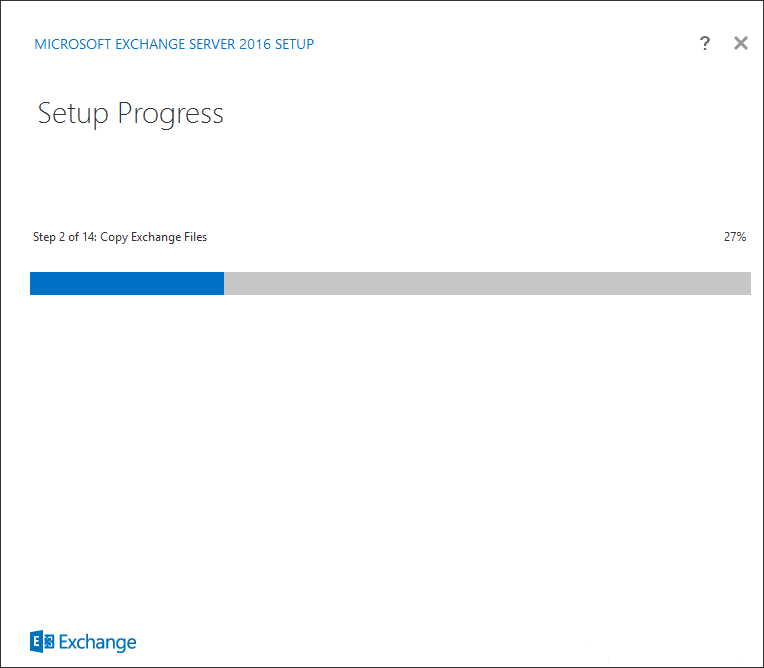
- The Setup is copying the Exchange files.

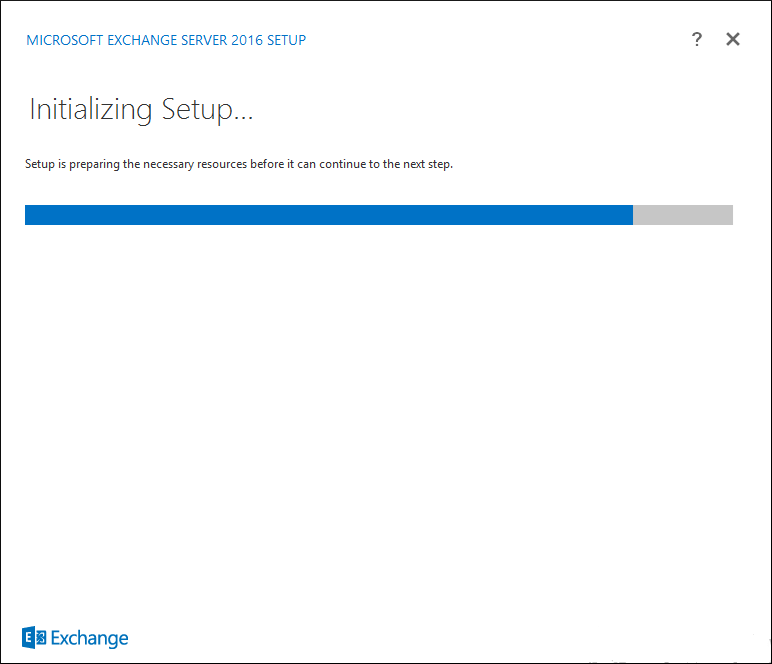
- After copying the files, the setup in initializing.
- The Introduction page will show the basic instruction of installing the Exchange. You can read it and click Next.

- Choose ‘I accept the terms in the license agreement.’ Then click Next.

- Choose the option between using recommended settings or don’t use recommended settings. Then click Next.

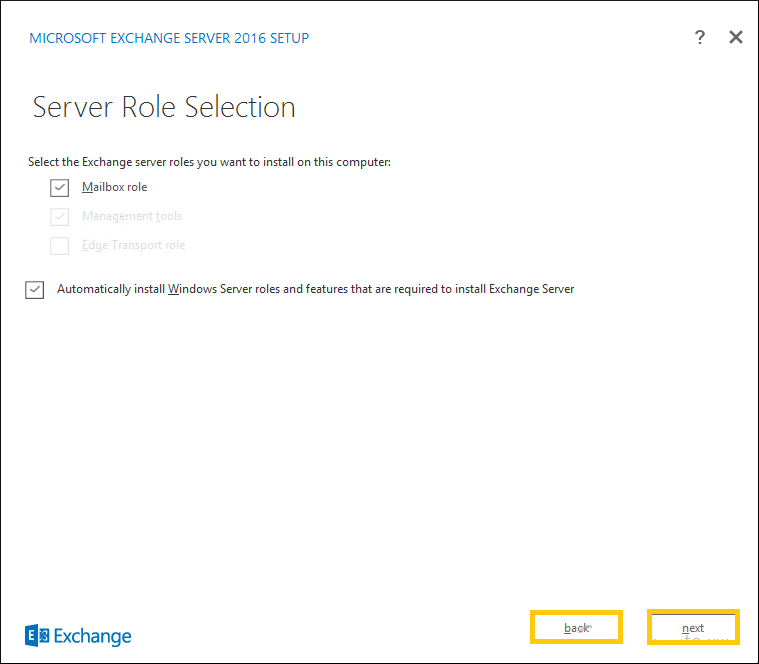
- On the Server Role Selection page, choose the Server Role between Mailbox Role, Management Tools, or Edge Server Role. The Mailbox Role is the important one where you should remember that Edge and Mailbox cannot be installed on the same server. The Management Tool will be installed automatically along with the Mailbox Role. Click Next.
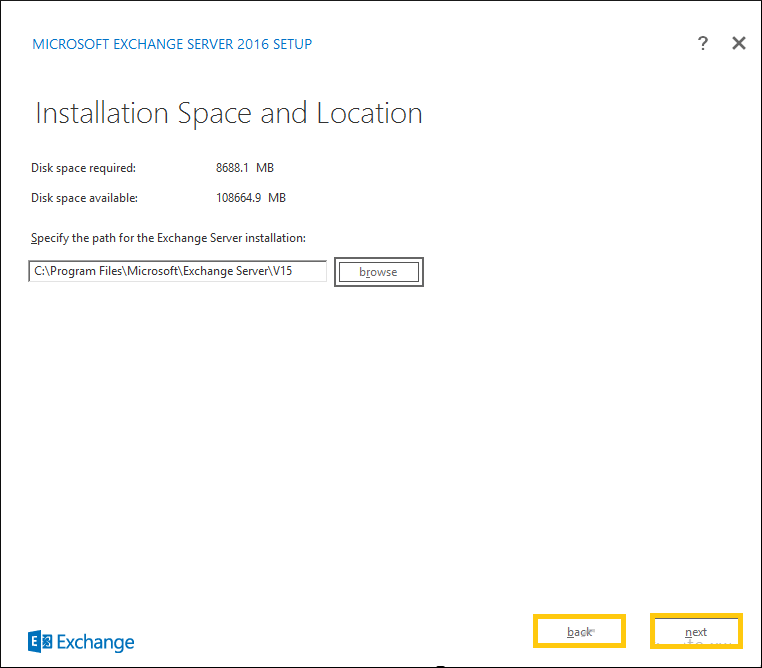
- Choose the default installation location or apply a different storage space using the Browse button. Click Next.
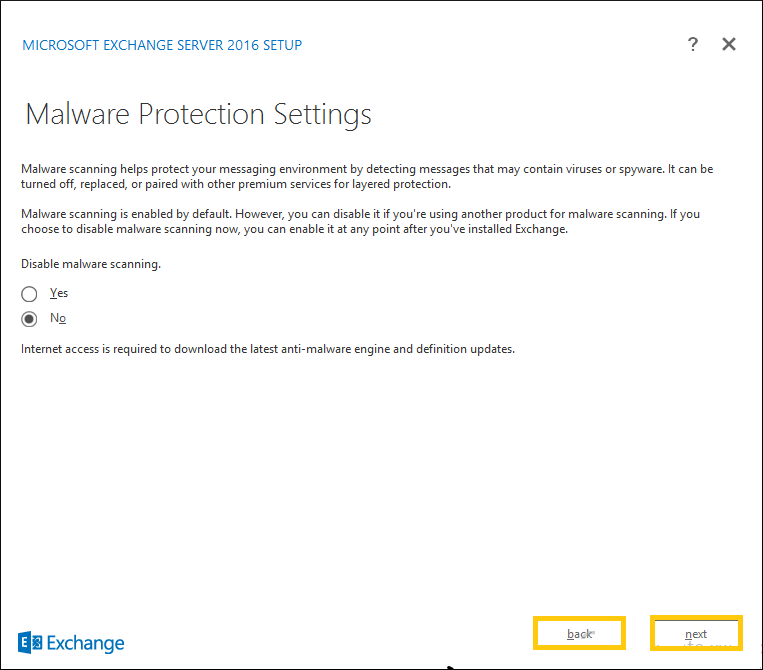
- Choose to enable the Malware Scanning at the Malware Protection Settings. Click Next.
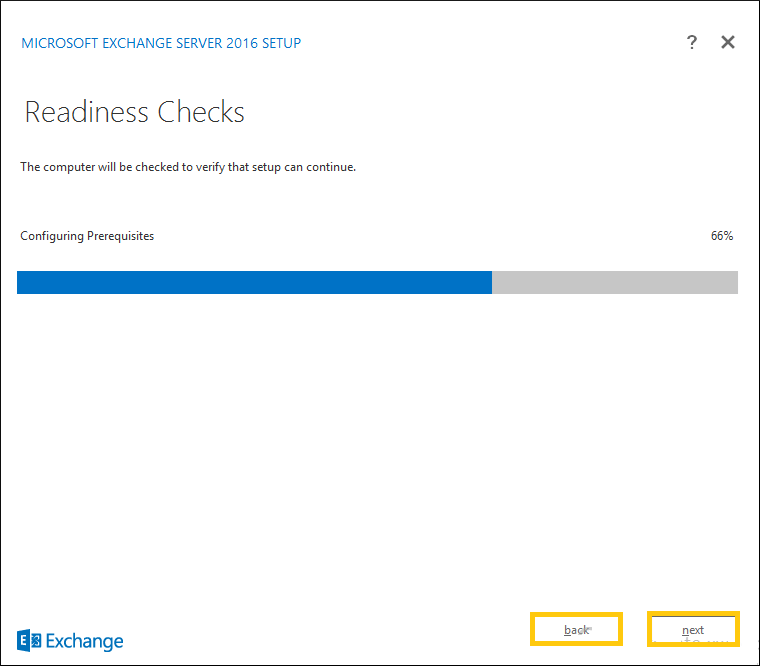
- The setup will run some readiness checks and you need to wait to let it complete. After a successful completion, click Install.
- The installation is started.
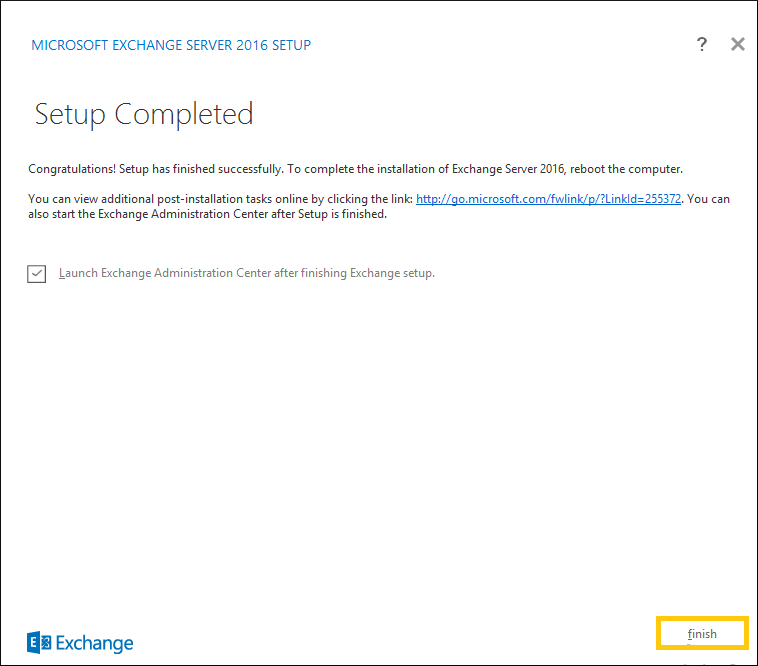
- After the completion of setup, the message will show that Setup is complete. Now you can go to Exchange Admin Center and create the Administrator or other accounts.
Migrate Exchange Server 2010 to 2016
When the Exchange Server 2016 is installed, then both the servers are in co-existence and you can migrate the mailboxes from 2010 to 2016 using the following steps;
- Go to Exchange Admin Center and check is servers’ category that both servers are present in the list.
- Go to recipients>>Mailboxes, choose the mailbox and click Move Mailbox.
- Provide a new name to the mailbox migration. Browse the database associated with the Exchange Server 2016 as the destination. Provide the BadItem and LargeItem limits. Then click Next.
- Choose the information if you want to get Migration Dashboard.
- You can now check the migration process easily.
- Change the mailflow of the mailbox from the source Exchange Server 2010 to Exchange Server 2016.
- Follow the same process for the remaining mailboxes.
Decommission Exchange Server 2010
When you have migrated all the mailboxes from Exchange Server 2010, then you can choose to decommission Exchange Server 2010 completely from the environment using the following steps-
- Go to Exchange Server 2010 setup and remove HUB Transport/Client Access Role.
- Remove Address Book Policies.
- Remove Default Offline Address Book.
- Remove Passive Database Copies.
- Remove the servers from DAG Membership.
- Remove DAG and databases.
- Remove Public Folder.
- Uninstall the Exchange Server 2010.
Conclusion
We have given the whole procedure to adopt the Exchange Server 2016 completely and remove Exchange Server 2010. You can follow the procedure sequentially and conduct the migration on your own. User can also try automatic Exchange Migration solution to migrate user mailboxes from one Exchange Server to another.

Manual methods are long, but they are also free. In this blog every step is being described very clearly and in the queue. With this blog method I transferred data from Exchange server 2010 to 2016.
I transferred my Exchange server 2010 to 2016 successfully with these manual methods. It describes all needed condition and software for setup of Exchange server 2016.